Master the Art of Irrigation: Your Comprehensive Guide to DIY Sprinkler Systems
By HeyHome • June 18, 2023
Key Takeaways
- Understanding irrigation and different types of sprinkler systems.
- The advantages of DIY sprinkler systems over professional installations.
- Detailed steps to design, install, and maintain your DIY sprinkler system.
- Troubleshooting common issues with DIY sprinkler systems.

When it comes to the pursuit of a flourishing, emerald-green lawn, one can't underestimate the power of a well-orchestrated sprinkler system. But have you ever considered taking the reins and setting up a DIY sprinkler system yourself? Yes, you read that right – the project that usually involves professionals, now within your grasp. With a little patience, the right tools, and this comprehensive guide, you'll be well on your way to mastering the art of irrigation.
A DIY sprinkler system is more than just an assembly of PVC pipes, sprinkler heads, and an outdoor faucet. It's a testament to your self-reliance, a manifestation of cost-saving skills, and the ticket to an optimally watered lawn that's the envy of your neighborhood.
In this guide, we'll delve into the heart of sprinkler system installation. You'll learn about the types of sprinkler heads, the importance of correct water pressure, and how to create a watering schedule that suits your garden's needs. We'll cover everything from the basics of an irrigation system to in-depth installation instructions, whether you're interested in an above-ground or in-ground sprinkler system.
Whether you're a seasoned DIYer looking to expand your repertoire or a gardening enthusiast aiming to maintain a green lawn year-round, this guide will be your blueprint. Strap on your work boots, roll out your garden hose, and let's dive into the world of DIY irrigation systems!
Join our newsletter
Stay on top of the latest in landscaping and lawn care with one valuable tip right in your inbox every Saturday morning.
The Importance of Irrigation in Gardening
Gardening, whether it's a meticulously manicured flower bed or a lush, sprawling lawn, thrives on balance. Sunlight, soil, and water are the trinity that sustains your little patch of nature, and each element holds its own importance. But today, let's focus on water – more specifically, the role of an effective irrigation system in a thriving garden.
Understanding the Need for a Good Sprinkler System
Your plants need water. That's a no-brainer. But different plants have different water requirements, and a uniform garden hose sprinkle doesn't quite cut it. This is where a well-planned and carefully installed sprinkler system steps in.
Sprinkler systems – especially when you've got a combination of lawn sprinklers, pop-up sprinkler heads for turf, and targeted spot watering for your precious flower and shrub beds – can take the guesswork out of your watering routine. This customizability ensures your plants receive the correct amount of water, neither drowning them nor leaving them parched.
An effective sprinkler system does more than hydrate your garden. It saves you time, helps you conserve water by avoiding unnecessary wastage, and even contributes to increasing the value of your property. It's like having your personal gardener, working around the clock to maintain the vibrancy and health of your green lawn.
Moreover, for those living in cold climates, certain types of sprinkler systems also offer a level of frost protection for your plants. With the right system, you can keep your garden thriving, even through a harsh winter.
In this guide, we'll show you how to install a sprinkler system and select the appropriate sprinkler heads for your needs. So whether you want a majestic arc of water from rotary heads or a gentler shower from spray heads, we've got you covered. By the end of this post, you'll be armed with the knowledge to transform your garden into a self-sufficient paradise, brimming with life and beauty.
Understanding the Basics

Before we dig into the nitty-gritty of installing your DIY sprinkler system, let's take a moment to understand some basic concepts. What exactly is a sprinkler system? How is it connected to the broader irrigation system? Let's explore.
What Is a Sprinkler System: Types and Applications
A sprinkler system, at its core, is a network of pipes, valves, and sprinkler heads designed to deliver water to specific areas of your garden or lawn. It's an integral part of an irrigation system, specifically designed to distribute water uniformly over your property.
Sprinkler systems can be broadly categorized into two types: above-ground and in-ground (or underground) sprinkler systems.
Above-Ground Sprinkler Systems are relatively easy to install and offer great flexibility. They typically involve a garden hose connected to a portable sprinkler, which can be moved around the yard as needed. This is an excellent choice for small lawns or gardens with a simple layout.
In-Ground Sprinkler Systems or underground irrigation systems are more complex and require a significant amount of planning and labor for installation. They consist of a network of PVC or polyethylene pipes that are buried underground, with sprinkler heads that can pop up when needed and retract when not in use. This type of system is perfect for large lawns and landscapes with a more intricate design, offering efficient and uniform watering.
The type of sprinkler head you choose will also determine the watering pattern, spray distance, and application rate of your sprinkler system. From rotating spray heads that offer a wide coverage to drip irrigation systems for targeted watering, the choices are many and cater to a variety of needs.
Join our newsletter
Stay ahead of the curve in all things outdoor.
Get the inside scoop on the latest landscaping, lawn care, and fencing trends with 1 actionable tip every Saturday morning.
The Connection Between Sprinkler Systems and Irrigation Systems
An irrigation system encompasses all the equipment and strategies you employ to water your plants. A sprinkler system is, therefore, a subset of this broader system. It's a method of irrigation that, quite literally, sprinkles water across your lawn or garden in a controlled manner.
The beauty of a well-planned irrigation system is its ability to tailor the watering to the specific needs of different parts of your garden. For example, your verdant front lawn might need more water than the flower beds, or the vegetable patch might require a different watering schedule than the shrubs. A sprinkler system, especially a DIY sprinkler system, allows you to cater to these needs efficiently.
Now that you're familiar with the basics let's dive into the world of DIY and explore how you can create a sprinkler system tailored to your garden's needs. Whether you opt for a DIY above-ground sprinkler system or an in-ground sprinkler system, rest assured, you'll be saving water, time, and achieving a garden that’s green and thriving.
DIY Sprinkler Systems: Why Choose DIY?

If you're reading this, chances are you've already considered going the DIY route for your sprinkler system. It's certainly a hands-on project that brings a sense of accomplishment and ownership, but is it right for you? Let's weigh in on the pros and cons and see how it stacks up against a professionally installed system.
Pros and Cons of a DIY Sprinkler System
Like any DIY project, installing your own sprinkler system comes with its share of highs and lows.
Pros:
- Cost-Effective: A DIY sprinkler system installation can be a more budget-friendly choice. You're essentially trading professional service fees for your own time and effort.
- Customizable: It's your garden, and you know its needs best. A DIY approach allows you to customize your irrigation system down to the last sprinkler head.
- Learning Experience: This project is a fantastic opportunity to learn new skills, from understanding water pressure to learning how to cut and join PVC pipes.
- Satisfaction: The satisfaction of looking at your green lawn and knowing that you built its irrigation system is immeasurable.
Cons:
- Time-Consuming: Depending on the complexity of your garden and the type of sprinkler system you choose, this could be a time-consuming project.
- Learning Curve: From understanding the flow rate of your municipal water system to selecting the right backflow preventer, there's a lot to learn. But don't worry, this guide has got you covered!
- Physical Labor: Expect to break a sweat! Installing an in-ground sprinkler system will involve quite a bit of digging.
Cost Comparison: DIY vs. Professional Installation
When it comes to cost, DIY sprinkler systems typically have an edge over professionally installed ones. You're essentially cutting out the labor costs, which can make up a significant chunk of the total expense.
However, bear in mind that the actual costs will vary based on your garden's size, the sprinkler system type (above-ground or in-ground), the complexity of the design, and the materials you choose. For instance, pop-up sprinkler heads may cost more than stationary ones, and PVC pipe prices can fluctuate based on size and type.
While a DIY sprinkler system installation does require an investment of your time and labor, the potential savings can be significant, especially for larger properties.
There's also the added bonus of building a system that's tailored to your specific needs. When you install a sprinkler system yourself, you have the freedom to place each sprinkler head where it will be most beneficial, select the spray patterns that best suit your garden, and build an efficient watering zone system that a one-size-fits-all professional installation might not provide.
So are you ready to roll up your sleeves and dive into the world of DIY irrigation? By taking charge of your garden's watering needs, not only will you save money, but you'll also gain a thorough understanding of your garden's requirements, ultimately creating a more efficient and effective sprinkler system.
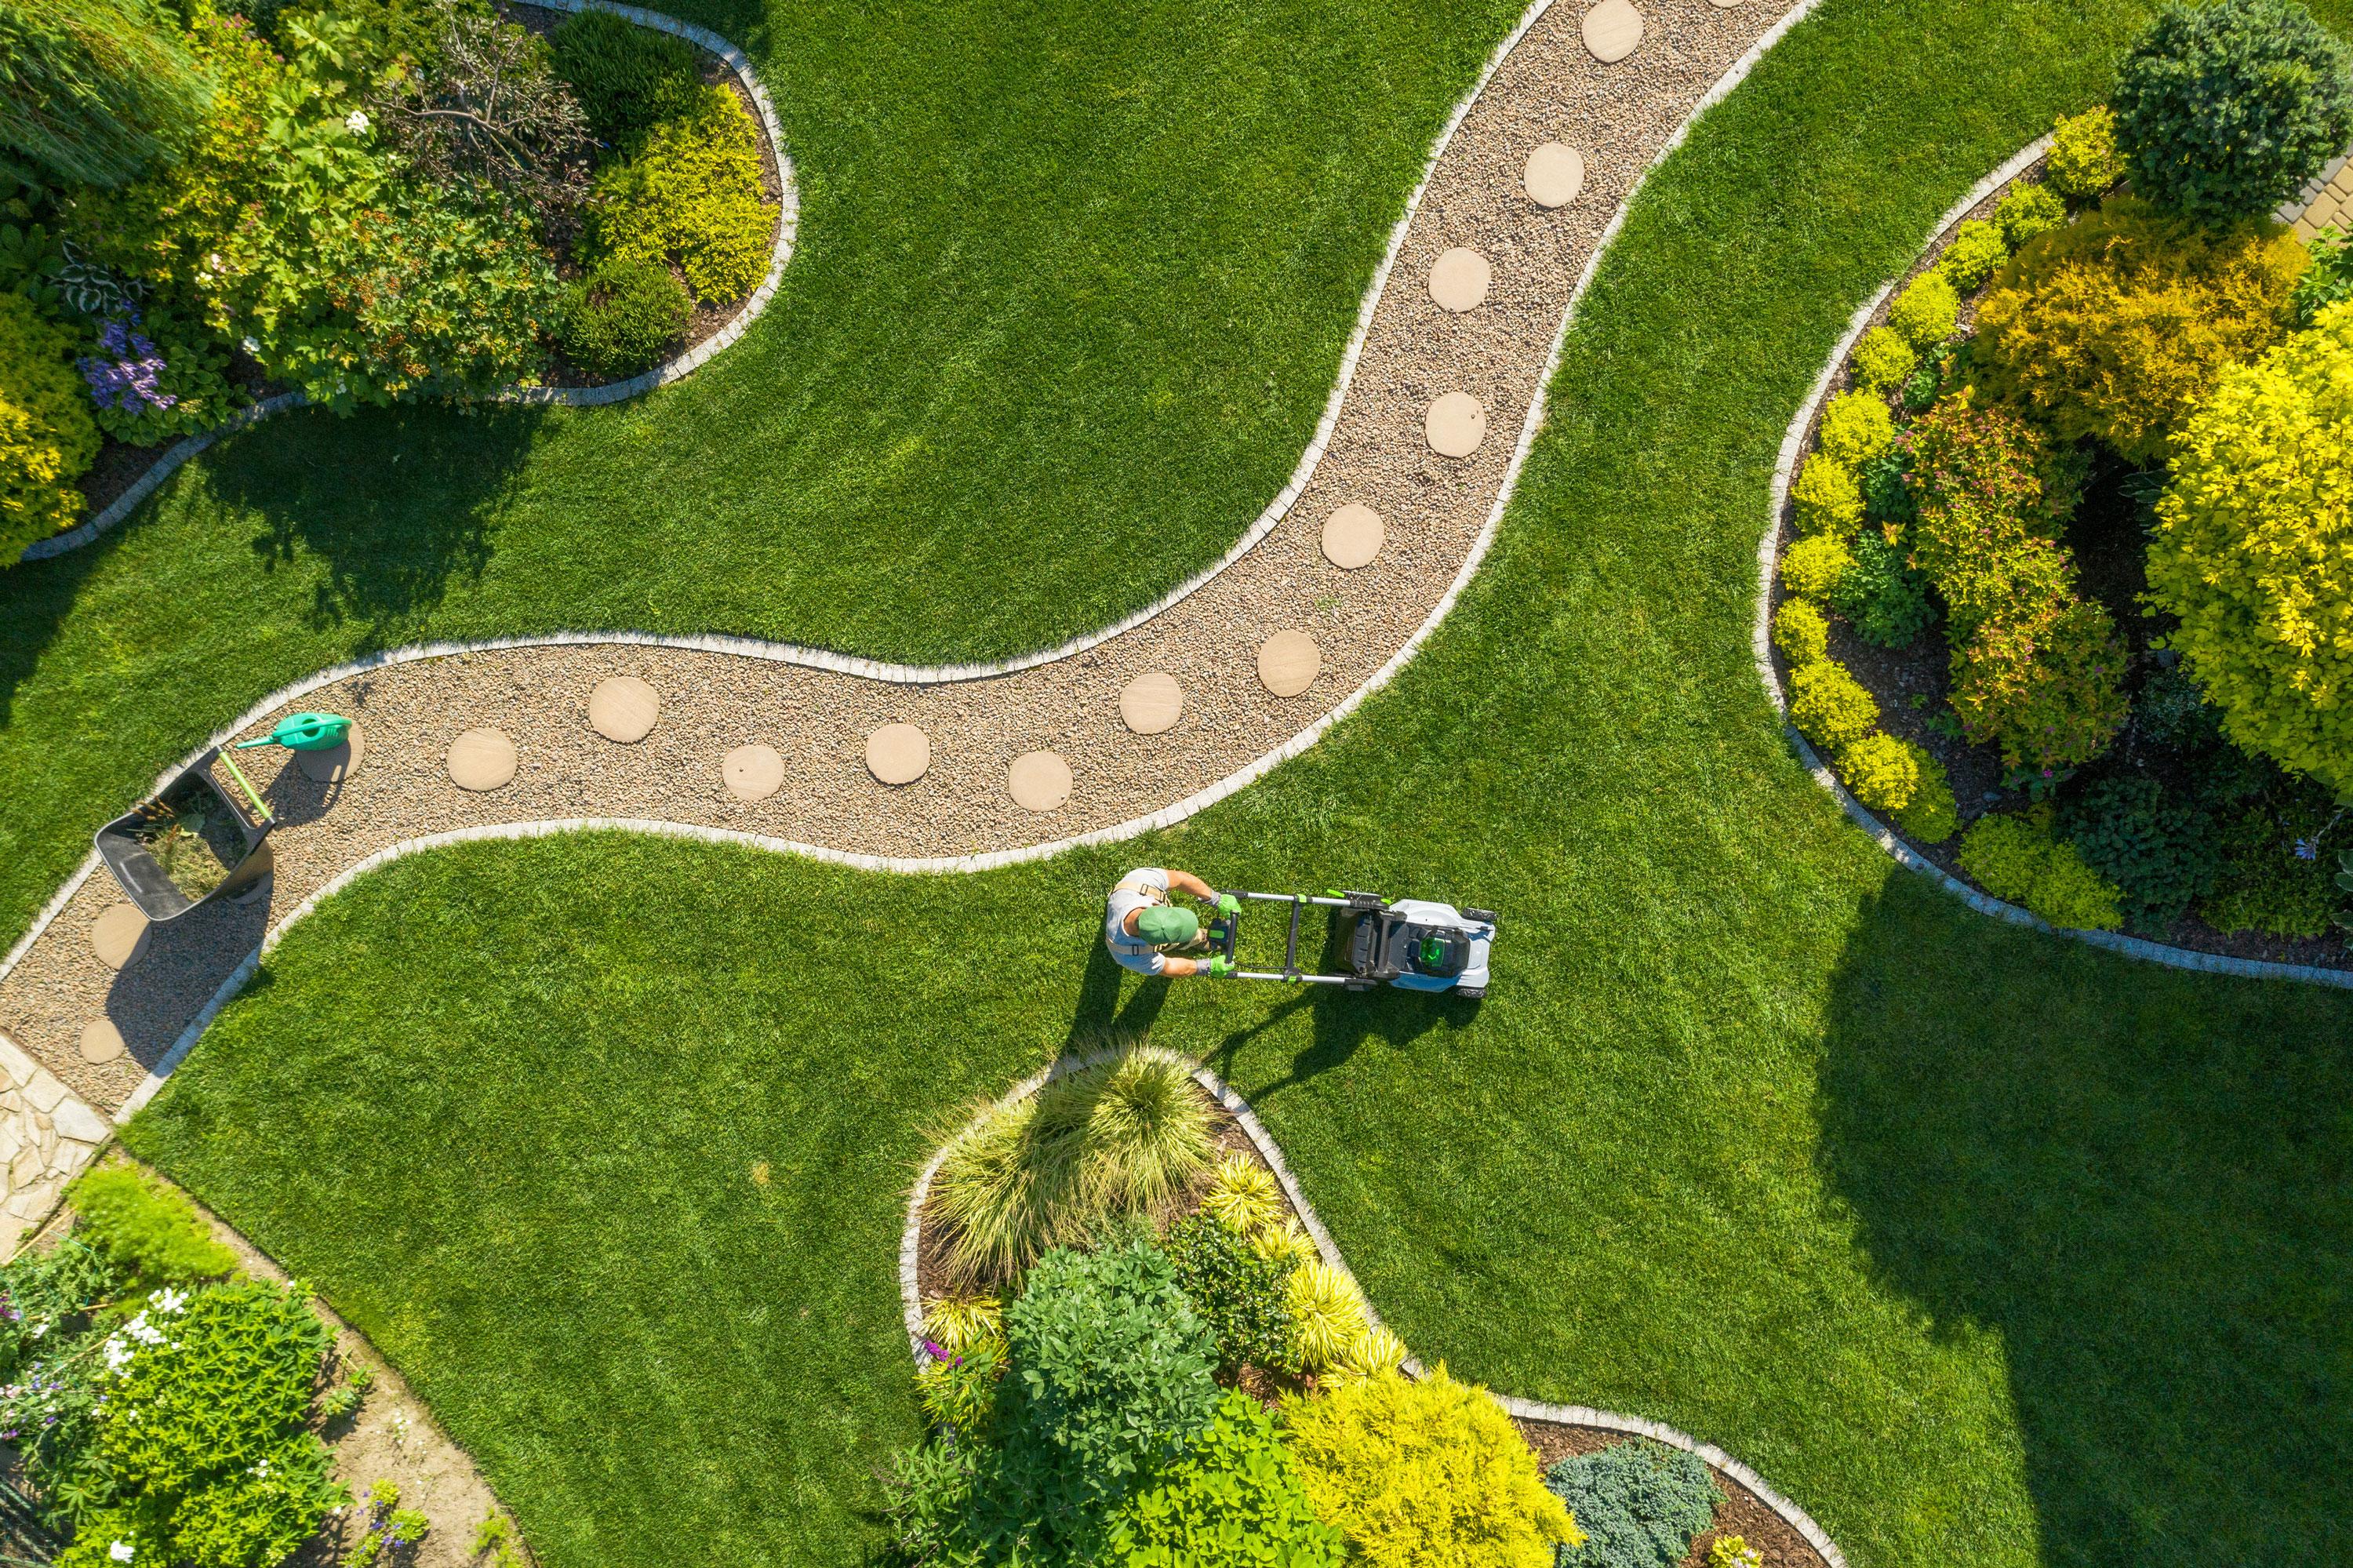
Building Your DIY Sprinkler System: A Step-By-Step Guide
Now that you're acquainted with the why's and what's of a DIY sprinkler system, it's time to get our hands dirty and start building. But hold on to your shovels just yet; the first step in any good DIY project is planning.
Planning Your DIY Sprinkler System: Plotting, Spacing, and Designing
A successful sprinkler system installation starts with a well-thought-out plan. Take some time to map your garden and consider the following:
- Garden Size and Layout: Measure your garden or lawn's dimensions. Consider the layout and how it might affect the installation of your sprinkler system, especially if you're planning an in-ground system.
- Zones: Divide your garden into watering zones based on plant type, sun exposure, and water requirements. Each zone will be watered independently, allowing you to cater to different plants' needs more effectively.
- Sprinkler Location: Mark out where you'll place each sprinkler head. Ensure they're spaced correctly, allowing their spray patterns to overlap slightly for even water distribution.
- Water Pressure and Flow Rate: You'll need to know your home's water pressure (measured in pounds per square inch or psi) and flow rate (measured in gallons per minute or GPM). This information is crucial to determining how many sprinkler heads you can run at once and the type of heads that will work best.
- Piping Route: Plan the route for your PVC pipe or poly tubing, avoiding heavy foot traffic areas and obstacles where possible.
- Local Building Codes: Check with your local building department for any restrictions or requirements for sprinkler system installation, like the necessity of a backflow preventer.
Remember, taking the time to plan now will make the installation process smoother and your sprinkler system more effective.
Gathering Materials: What You Need to Build a DIY Sprinkler System
With your plan in hand, it's time to gather your materials. The specific items you'll need will depend on your plan, but here's a general list to get you started:
- Sprinkler Heads: These come in a variety of styles, including pop-up sprinkler heads, rotary heads for large areas, and shrub sprinklers for garden beds. You might need different types for different zones.
- PVC Pipe or Poly Tubing: This forms the backbone of your sprinkler system. The size and type will depend on your garden size and the water pressure in your home.
- Fittings: These include everything from elbows, tees, and couplings to connect your pipes and sprinkler heads, to a backflow preventer to keep your water supply safe.
- Control Valves: You'll need one for each of your watering zones.
- Controller: This is like the brain of your sprinkler system. It lets you set watering times for each zone and automate your watering schedule.
- Miscellaneous Tools: You'll need a variety of tools for this project, like a shovel or a pipe puller for digging trenches, a saw for cutting PVC pipes, PVC cement for securing the fittings, and possibly a pressure gauge.
Before you begin, make sure to check the manufacturer's instructions for any specific installation requirements for your chosen materials.
With your plan ready and materials in hand, you're all set to embark on your DIY sprinkler system installation journey! In the following sections, we'll go through the step-by-step installation process, guiding you all the way to a well-watered and beautiful garden.
Types of Sprinkler Systems: Above Ground vs. In Ground

Before we jump into the step-by-step installation process, let's take a moment to discuss the two main types of sprinkler systems you can choose for your garden: above ground and in ground. Both have their own unique benefits, and understanding these can help you make an informed decision for your DIY sprinkler system project.
The Advantages of a DIY Above Ground Sprinkler System
Above ground sprinkler systems, also known as portable sprinkler systems, are a popular choice for many gardeners. Here's why:
- Ease of Installation: Above ground systems generally require less effort to install. You don't have to dig trenches or worry about burying the irrigation pipe. If you're looking for a project that you can complete in a weekend, this might be the way to go.
- Flexibility: If your garden is still evolving, an above ground system gives you the flexibility to adjust your watering as needed. Simply move the sprinkler heads or reposition the hose to fit your changing landscape.
- Cost-Effective: These systems often require fewer materials, translating into a lower overall cost. For instance, you might use a standard garden hose instead of PVC pipe or polyethylene pipe.
- Ideal for Small to Medium Gardens: Above ground systems can provide ample watering for smaller to medium-sized gardens and are particularly effective for targeted spot watering.
The Advantages of a DIY In Ground Sprinkler System
In ground sprinkler systems, on the other hand, offer a permanent watering solution. Here's why they could be the right choice for you:
- Aesthetics: If you prefer a clean look for your garden, an in-ground system is your best bet. With the pipes and most of the sprinkler body hidden below ground level, all you'll see are the heads, and even those can be retractable.
- Efficiency: In ground systems can cover larger areas more efficiently. They can be customized to water your garden evenly, whether it's your front lawn, flower beds, or shrub areas.
- Durability: Being installed underground protects the system from the elements and accidental damage. It's a longer-lasting solution, especially if your garden sees a lot of foot traffic.
- Automation: While you can automate both types of systems, in ground sprinkler systems often provide more advanced control options, allowing you to fine-tune your watering schedule.
By understanding the advantages of both above ground and in ground sprinkler systems, you can choose the one that best suits your garden's needs, your budget, and your DIY aspirations. Whichever you choose, the following sections will guide you through the installation process.
The Nuts and Bolts: Understanding Sprinkler Heads and Water Pressure

Before we dive into the actual installation process, it's crucial to understand two fundamental aspects of any sprinkler system: the sprinkler heads and the water pressure. These elements play a significant role in the efficiency and effectiveness of your irrigation system.
Sprinkler Heads: Types, Functionality, and Selection
Sprinkler heads are the workhorses of your sprinkler system. They control the direction, range, and volume of water being dispersed. There's a variety of sprinkler head types available, each with unique features suited to different needs:
- Pop-Up Sprinkler Heads: Perfect for lawns, these sprinkler heads retract back into the ground when not in use, protecting them from potential damage and maintaining the aesthetics of your yard.
- Rotary Heads: These heads rotate to provide even coverage over a larger area. They're great for large, open sections of your garden or lawn.
- Spray Heads: Ideal for smaller areas, these heads produce a fixed spray pattern and are available in a range of spray distances.
- Drip Emitters: For precise, low-volume watering, drip emitters are a great choice. They're perfect for flower beds, shrubs, or individual plants.
When selecting your sprinkler heads, consider your garden's layout and plant needs. Make sure to choose appropriate sprinkler heads that match the water pressure of your municipal water system or well. Follow manufacturer's instructions regarding installation and operation for optimal performance.
The Importance of Water Pressure in Your DIY Sprinkler System
Water pressure, measured in pounds per square inch (psi), plays a vital role in the operation of your sprinkler system. It determines how far and how efficiently your sprinkler heads can distribute water. Here's why it matters:
- Adequate Pressure: Too little pressure, and your sprinkler heads won't be able to spray water effectively, leading to dry spots. On the other hand, too much pressure can lead to misting, where water is carried away by the wind, or cause damage to your sprinkler heads and pipes.
- Consistent Flow Rate: Water pressure affects the flow rate — the amount of water that flows through your system at one time, measured in gallons per minute (GPM). Maintaining a consistent flow rate ensures your garden receives the right amount of water.
- Multiple Zones: Understanding your home's water pressure is critical when planning multiple watering zones. You need to ensure that each zone can operate effectively without reducing the pressure needed for the other zones.
To measure your home's water pressure, you can use a pressure gauge. Connect it to an outdoor faucet, open the tap, and read the psi value. If you're on a municipal water system, you can also contact your local utility company for this information.
By understanding your sprinkler heads and the importance of water pressure, you're laying the groundwork for a successful DIY sprinkler system installation. Stay tuned for our next sections, where we'll cover the step-by-step guide to installing both above ground and in ground sprinkler systems.
Installing Your DIY Sprinkler System

Now that we've covered the basics, it's time to get your hands dirty and dive into the actual installation process of your DIY sprinkler system. This guide will give you a general overview of the steps involved. Remember, whether you're installing an above ground or an in ground system, it's crucial to follow the manufacturer's instructions for specific products.
Step-By-Step Installation Guide: From Digging Trenches to Connecting Pipes
1. Plan Your Layout: Start by sketching your garden layout. Mark the locations of each sprinkler head based on the type and spray pattern you've chosen. Remember, overlap your spray patterns to ensure no dry spots. Divide your system into zones if necessary, based on water pressure and flow rate.
2. Check Local Codes: Contact your local building department to find out if you need a permit to install a sprinkler system. Also, call your local utility companies to mark any underground utility lines.
3. Gather Your Materials: Your shopping list should include the selected sprinkler heads, PVC pipe or poly tubing (for in-ground systems) or garden hose (for above ground), control valves, backflow preventer, and other necessary fittings. Don't forget PVC cement and a pipe cutter for in-ground installations!
4. Dig Trenches: If you're installing an in-ground system, use a trenching shovel or a pipe puller to dig trenches according to your plan. The trenches should be deep enough to allow the sprinkler body to sit at ground level when installed.
5. Install Sprinkler Heads and Pipes: Assemble your sprinkler heads following the manufacturer's instructions and place them at the appropriate locations. Lay your PVC pipe or poly tubing in the trenches, connecting the sprinkler heads. Make sure to install a control valve for each zone in your system.
6. Connect to Water Supply: Install a backflow preventer to prevent contamination of your water supply. Connect the main line of your sprinkler system to your outdoor faucet or your home's main water line if you're on a municipal water system.
7. Test Your System: Once everything is connected, gradually turn on the water to flush any debris out of the pipes. Once the water runs clear, install the spray heads on the sprinkler bodies. Then, turn on the water again to test your system, adjusting the spray pattern as necessary.
8. Cover Trenches: If you're installing an in-ground system, backfill the trenches once you're satisfied with the operation of your sprinkler system.
9. Program Your Schedule: Finally, program your watering schedule based on the needs of your plants and local weather conditions. Remember, it's better to water deeply and infrequently to encourage strong root growth.
Remember, the exact steps might vary based on the design of your system, the type of sprinkler heads you're using, and the specific requirements of your garden. However, this guide should give you a solid starting point to install a sprinkler system on your own. Happy watering!
Maintenance and Troubleshooting Your DIY Sprinkler System

Just like any other system in your home, your DIY sprinkler system requires regular maintenance to perform at its best. Moreover, you may face some common issues over time that need troubleshooting. However, don't fret! Many of these problems are easy to fix with a bit of know-how and elbow grease.
Regular Check-Ups and Adjustments for Your DIY Home Sprinkler System
Maintaining your sprinkler system is an ongoing process. Here are some steps you can take to ensure your system runs smoothly:
1. Regular Inspections: Inspect your system regularly, especially during the watering season. Look for signs of leakage, broken sprinkler heads, or irregular spray patterns. Ensure your sprinkler heads aren't blocked by grass or debris and that they pop up and retract smoothly.
2. Seasonal Adjustments: As the seasons change, so do the watering needs of your lawn and garden. Make sure to adjust your watering schedule accordingly, watering less in cooler months and more during hot summer periods.
3. Winterize Your System: If you live in cold climates, it's essential to winterize your system to prevent freeze damage. This process involves shutting off the water supply to the system and draining the pipes. In some cases, you may need to use compressed air to blow out any remaining water.
4. Backflow Preventer Check: It's crucial to ensure that your backflow preventer is functioning correctly to prevent contamination of your water supply. It's often required to have this device tested annually, depending on local regulations.
How to Handle Common Issues with Your Sprinkler System
Even the most carefully installed and maintained sprinkler systems can run into issues. Here are some common problems and how to troubleshoot them:
1. Sprinkler Heads Not Popping Up: This problem is often due to low water pressure. Check for leaks in your system that may be reducing pressure. If all else fails, you may need to reduce the number of sprinkler heads per zone or switch to heads that require less pressure.
2. Irregular Spray Patterns: If your sprinklers are spraying irregularly or not covering the intended area, they may be clogged. Remove the sprinkler head and clean out any debris.
3. Puddling or Flooding: If you notice water pooling in areas of your yard, you may be overwatering or your drainage may be poor. Adjust your watering schedule or consider adding a drainage solution to those areas.
4. System Won't Turn On: If your system won't start, check your control panel first. Make sure it's plugged in and programmed correctly. If the control panel seems fine, check your valves and water supply.
While this list covers some of the most common issues, always refer to your system's manual or manufacturer's website for specific troubleshooting guides. Remember, maintaining and troubleshooting your system is part of the DIY process, and it's all worth it when you see your vibrant, healthy lawn and garden!
Conclusion
There you have it – your comprehensive guide to DIY sprinkler systems. From understanding the importance of irrigation and learning about different types of sprinkler systems to actually building your own and maintaining it, we've covered it all.
Opting for a DIY sprinkler system can save you money, provide you with a rewarding project, and allow you to customize your irrigation system to your garden's unique needs. While it may seem intimidating at first, with a bit of planning and elbow grease, it's a task well within the reach of any dedicated home gardener.
Always remember that no two gardens are the same. Therefore, it's essential to tailor your sprinkler system to cater to the specific needs of your lawn or garden. And, regular maintenance and troubleshooting will ensure that your system operates at its best for years to come.
So, are you ready to roll up your sleeves and dive into your next DIY project? With the help of this guide, you'll be well on your way to building a sprinkler system that will keep your lawn and garden lush, green, and thriving. Happy gardening!
Remember, if you have any questions or get stuck along the way, feel free to leave a comment below. We're here to help you on your DIY journey. Good luck, and enjoy the satisfaction of a job well done!
Join our newsletter
Stay ahead of the curve in all things outdoor.
Get the inside scoop on the latest landscaping, lawn care, and fencing trends with 1 actionable tip every Saturday morning.